

Wilderness photography and capturing the night sky
Written and Photographed by Andy Porter, Northwest Photographer
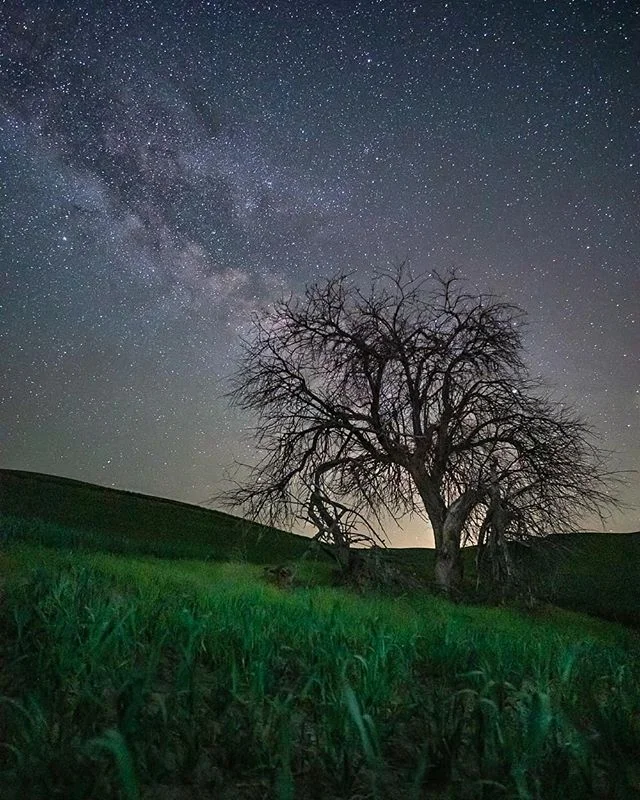
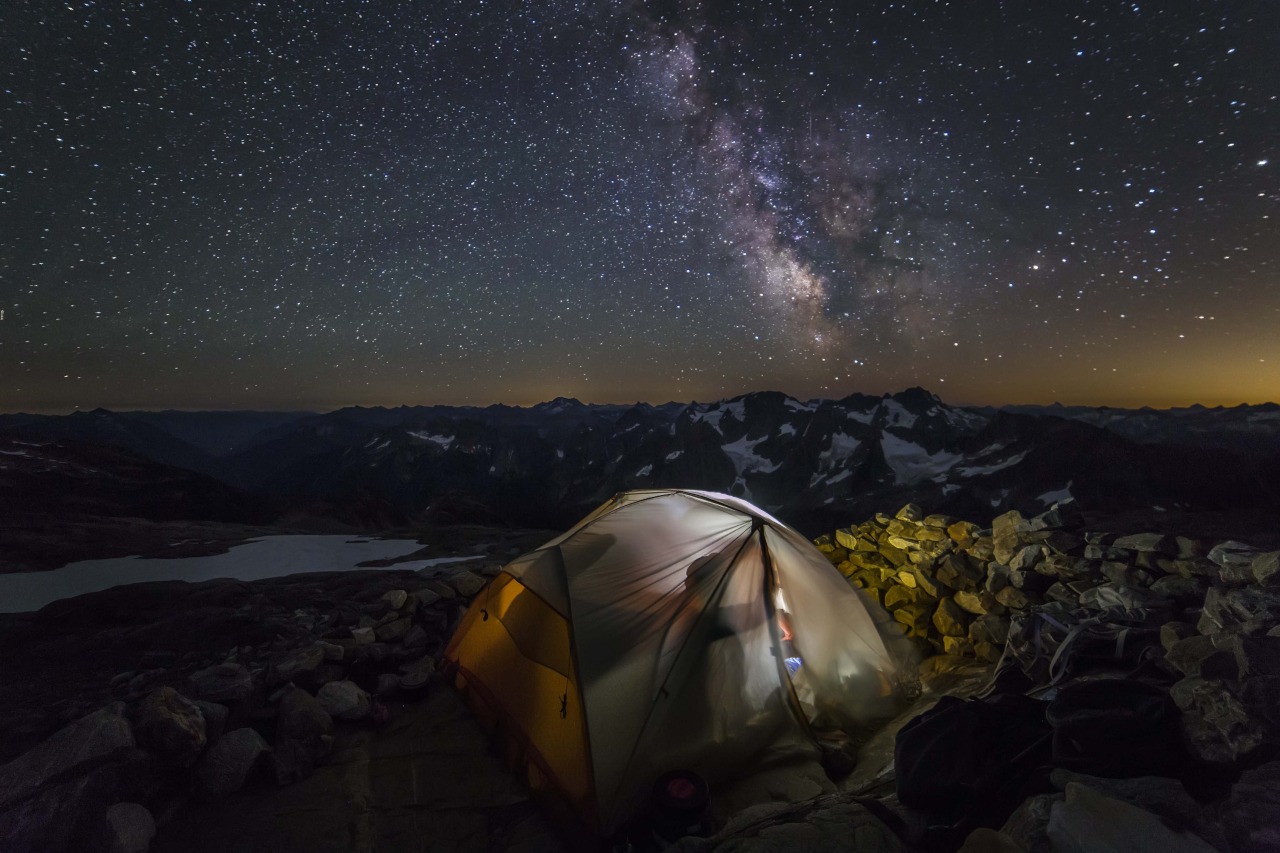
The only thing that captures my imagination more than images of stark, forbidding mountains deep in the wilderness is images of the Milky Way.
The sense of wonder looking at a star filled sky…there is nothing like it. All of the themes evoked by such a sight: distance, space, infinity, the unknown, God, space travel, alien races, vastness, our insignificance…I mean, where else do you get such a mélange of emotions?
And when you add to the starry night sky the strip of the Milky Way, with its mottled colors of gaseous clouds, you are exponentially multiplying the element of coolness.
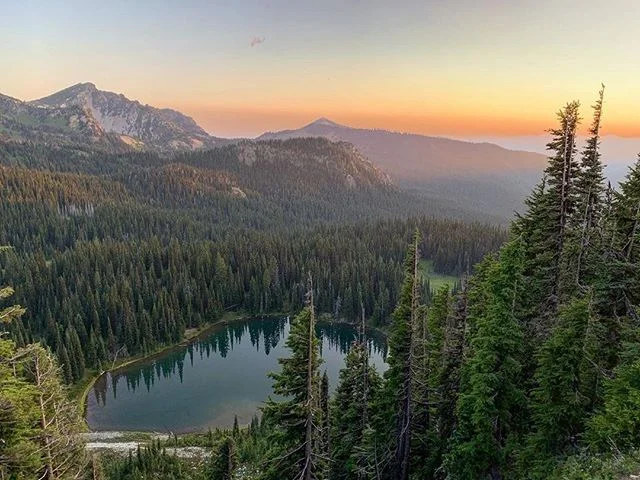
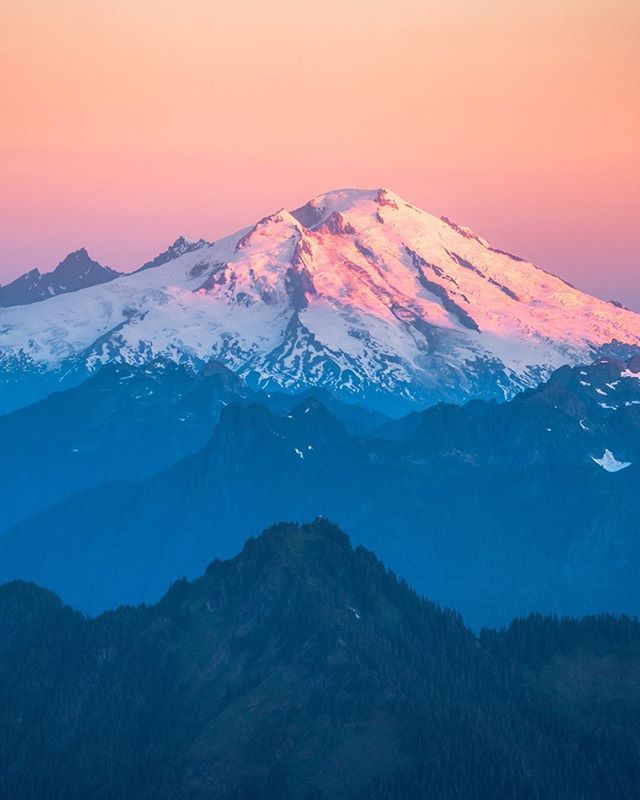
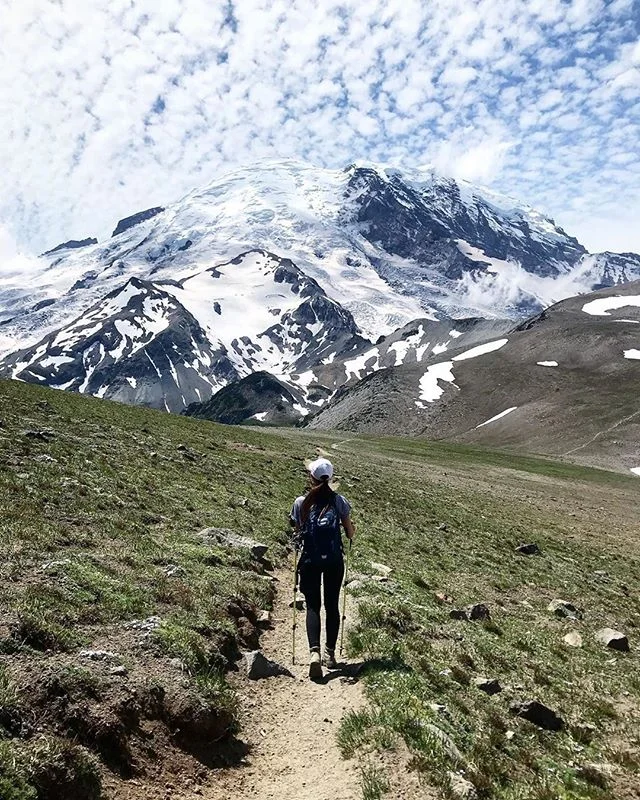
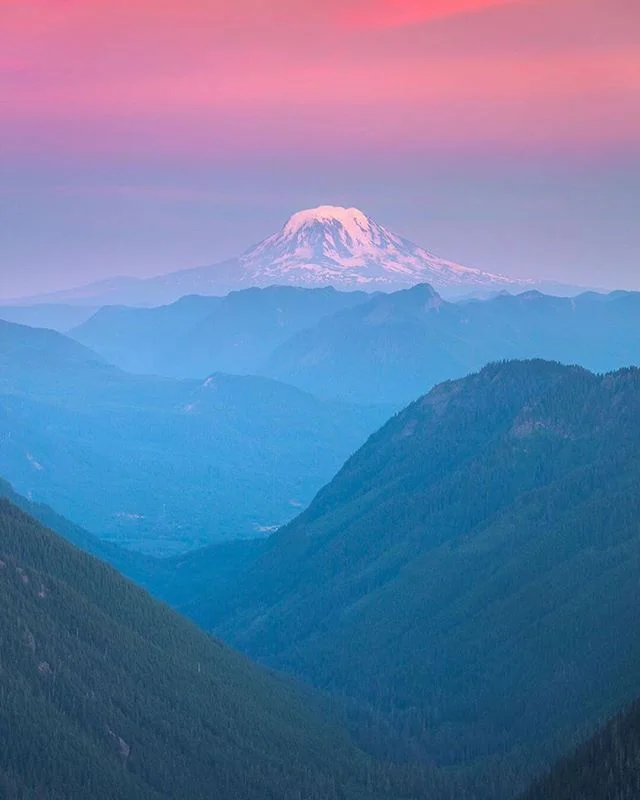
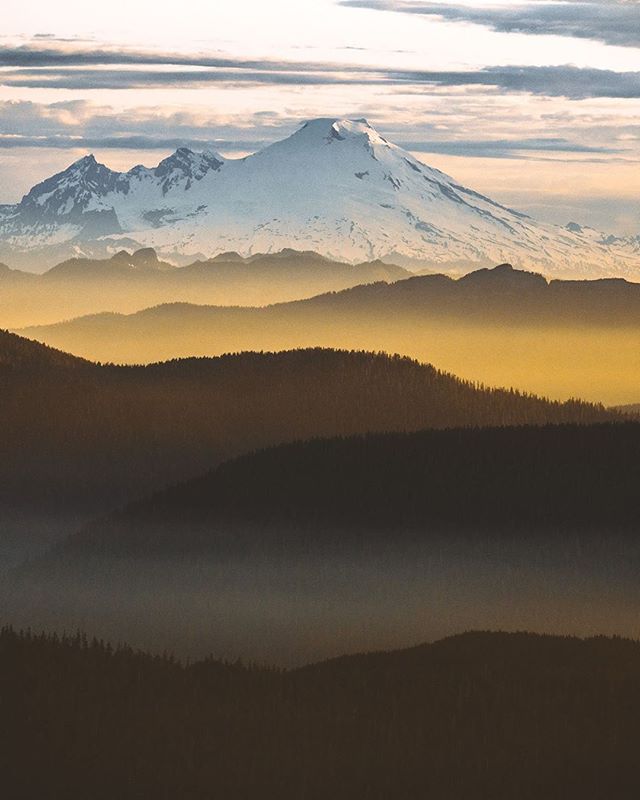
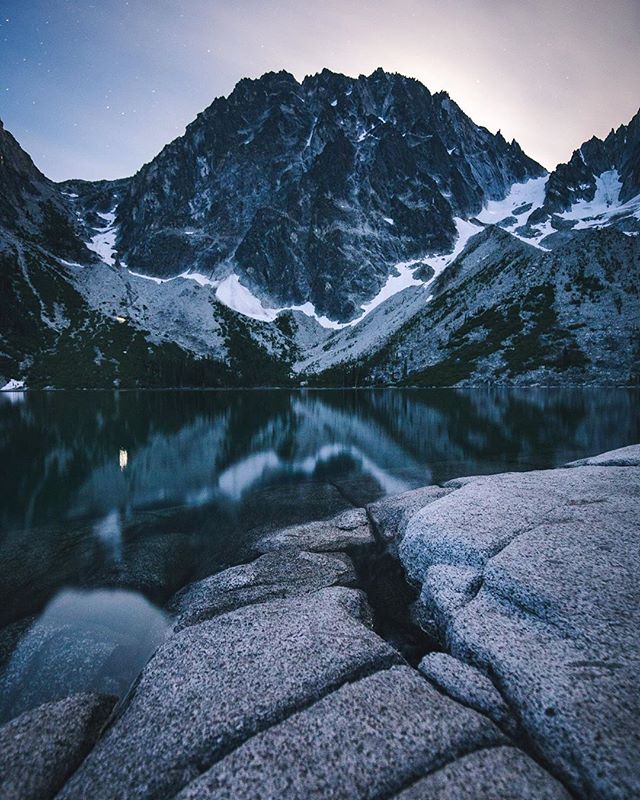
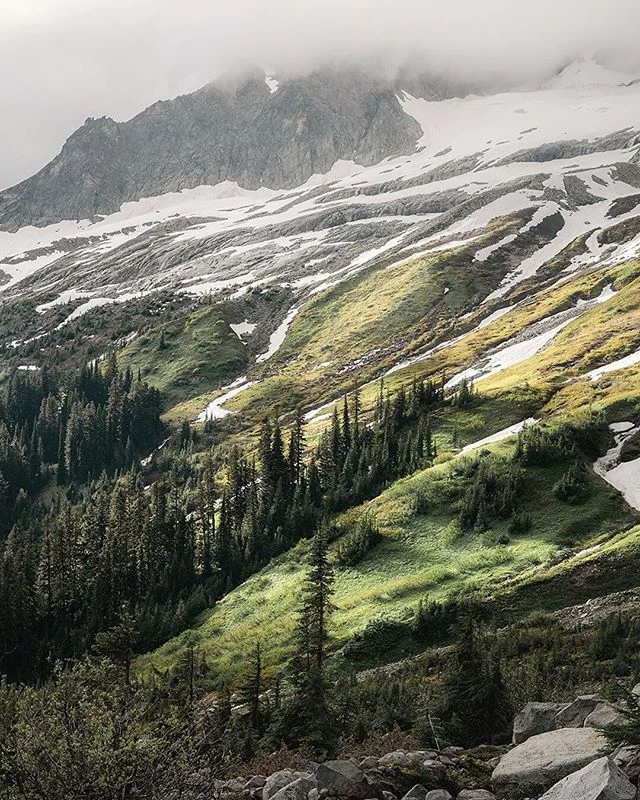
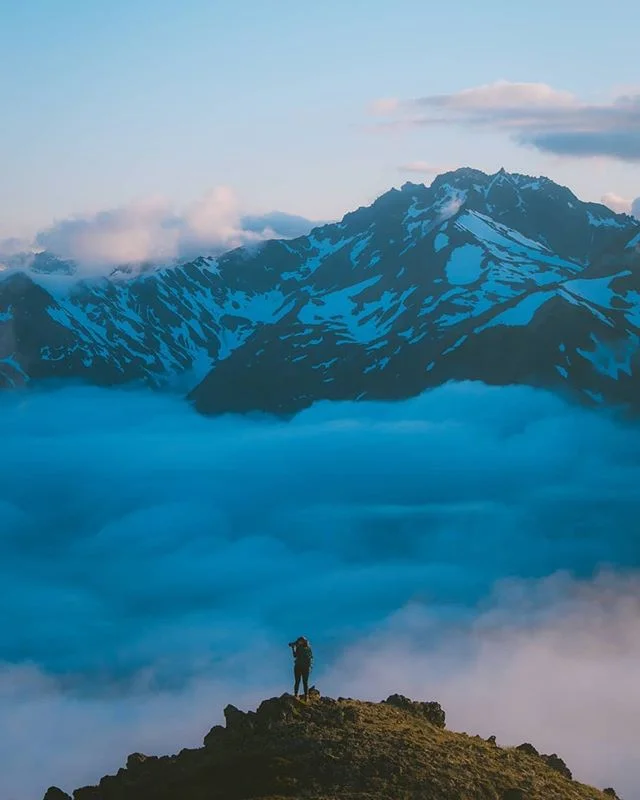
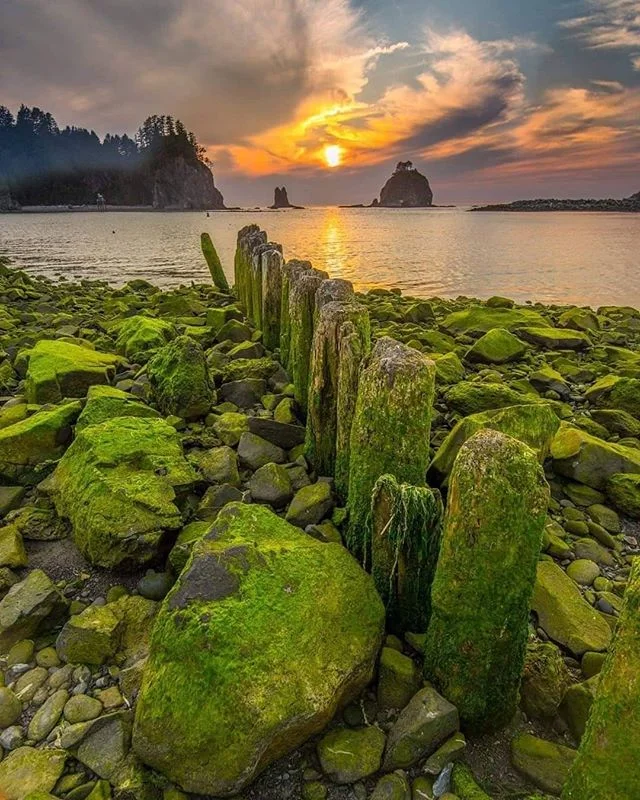
Combining wilderness photography with starry sky imaging is a natural. You need to escape from the lights of civilization to get clear shots at night and any wilderness; mountains, ocean, desert all provide spectacular foregrounds for the Milky Way.
Capturing Night Sky Images
The equipment list is rather meager. You need a decent DSLR (a full frame body is best, but not mandatory) a wide angle lens ( 10 to 20mm is best, 24mm is fine) a tripod and a cable release (or electronic shutter release) and that’s really all you need, equipment wise.
Once you get out to your spot and get set up set the camera on manual exposure mode and open your aperture up all the way (use the lowest f/stop number) and then, using the chart here, set your shutter speed.
As for ISO, that is really the only variable. Depending upon your camera I would suggest starting at a relatively low ISO, say, 1,000 and then work your way up, checking the images as you go. Each camera will have its own ISO sweet spot, often it’s the midpoint between the lowest and highest ISO setting on the camera.
One more important item is focus. You must set your lens on Manual Focus. Auto focus will not work at night and so, before you head out, take some time and figure out how to manually set the focus ring on your lens to infinity.
There are several way to do this, one is look up your lens on line, looking for the manual, or advice as to how to set that lens to infinity. Or another way is to sit with your camera (set the aperture open all the way when doing this) and take test shots of something at least 50 feet away and then review the image on your camera, using the zoom function and keep testing until you find that exact spot for your lens where its set for infinity, then make some mark or note or whatever so that when you’re out in the field at night you know where to set it.
That’s it! Then you can leisurely move about, composing shots and have fun (make sure to check your focus ring from time to time, moving your rig about can often change the focus setting!)
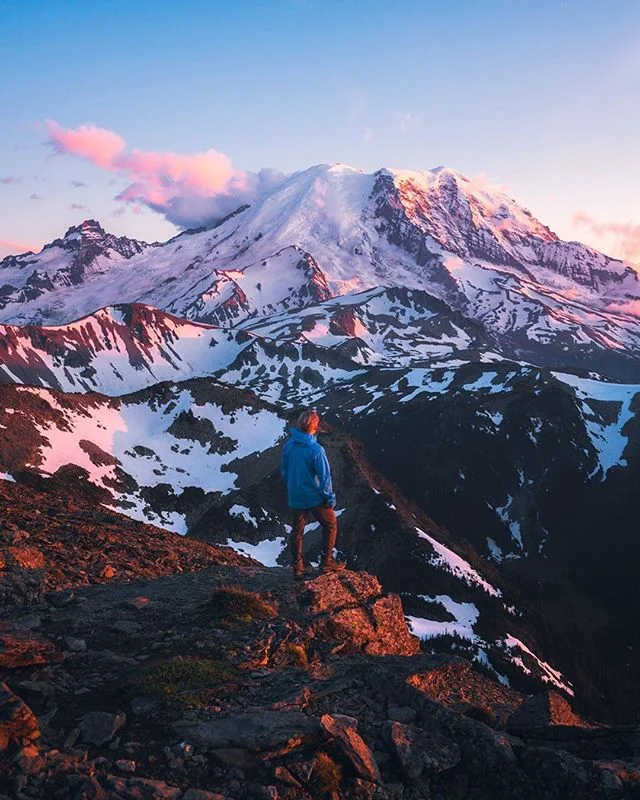
Here in Washington there are many fantastic places to go for night sky images. Mount Rainier, the Pacific Coast, along a wild river really the list is endless. Happy Shooting!
Andy is a nature photographer lured to Washington State by the glorious vistas. He lives along the North Cascades Highway, where he teaches photography and leads photo tours. You can see more of his work at: www.AndyPorterImages.com